The e-commerce platform workflow (again):
The relatively simple version for Amazon Kindle style (Kobo, Apple Books, Smashwords/Darft2Digital accounts:
1. sign up for an account
2. enter your tax and bank account details
The basic account set up process for Payhip is very similar to the big platforms:
The first few screens are just entering personal/business information. In the case of Payhip, you will need to already have set up a Paypal or Stripe account, you do not have the option of entering your bank account directly. Pro tip, although it’s outside the scope of what is on this site, but please please set up a separate Stripe and Paypal account for your business even if you don’t have a corporation. Sooner or later you will have your local government tax inspectors looking for their money and it’s much better to have it sitting in the business account.
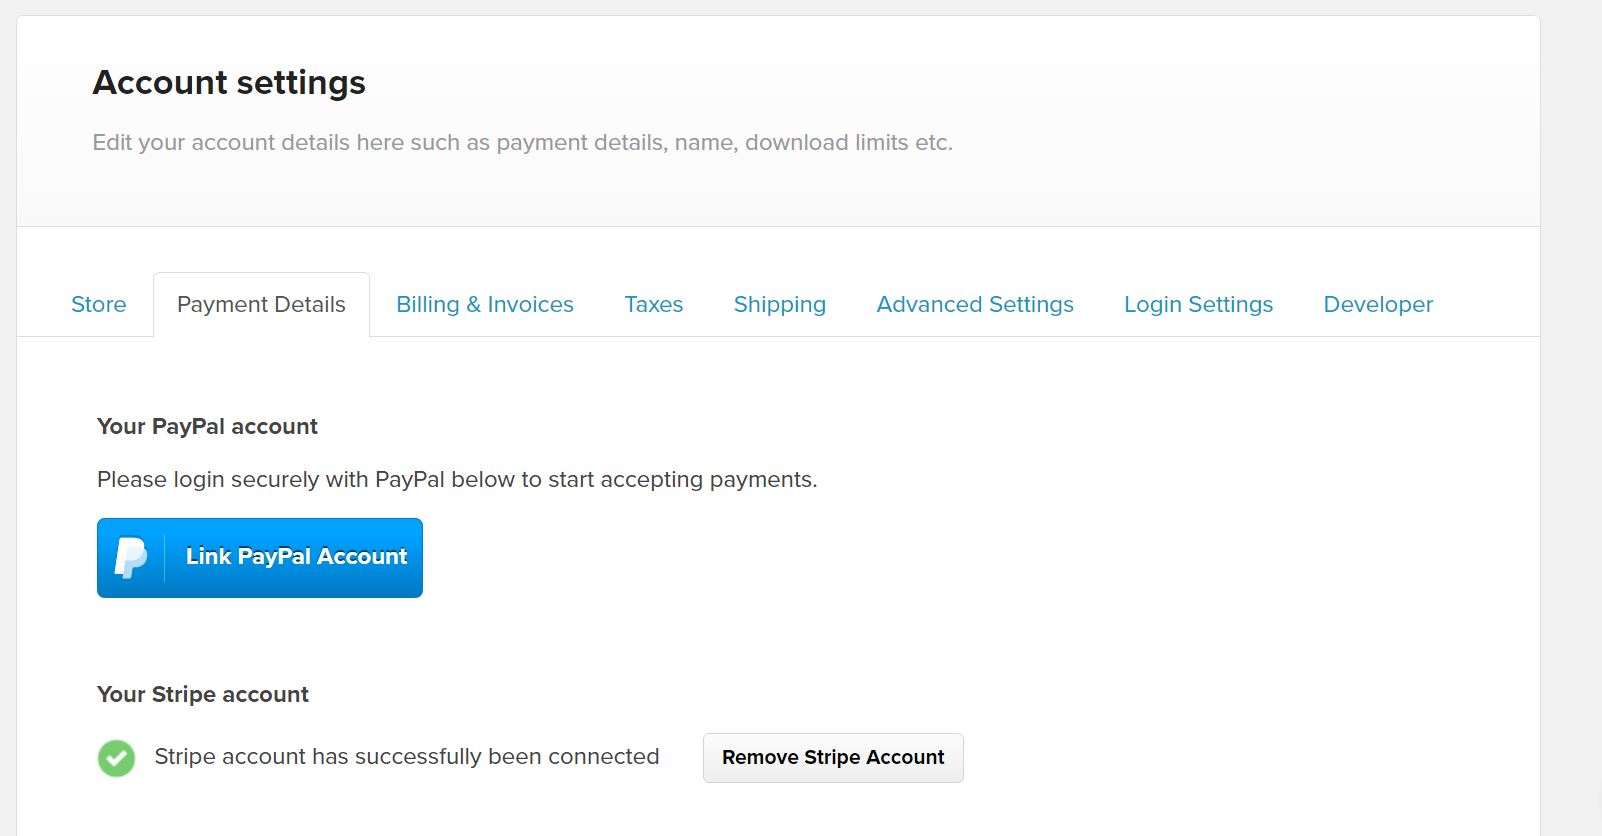
When you have the basic information set up, you will want to return to the Account settings screen to do further set up, it is currently the gear wheel on the top right of the screen.
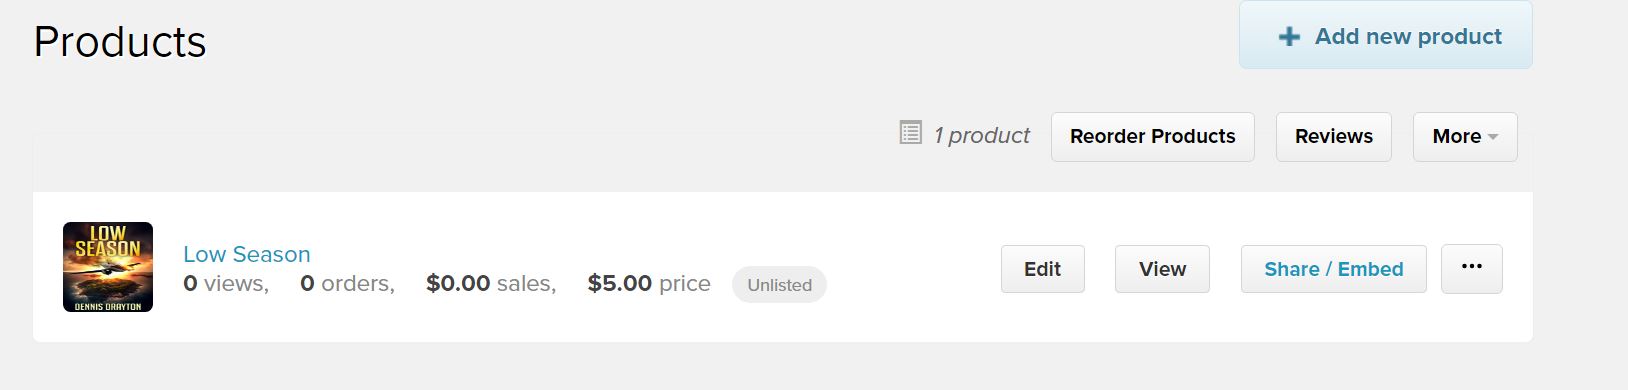
Workflow for adding your product:
0: choose your product (in case of a site selling e-books, you have already chosen an ebook as your product type)
1. choose your categories/genres
2. upload your ebook
3. choose the price
4. publish the ebook.
This process is almost identical to setting up an ebook on Kindle etc, although the basic end of the process you get a HTTP link which is, to be honest, just a bit icky and not attractive even to somebody used to dealing with WordPress, web pages etc. I suppose I could set up a product page on my own website and have a hyperlink, but it doesn’t feel very powerful.
Check back again to see what more I find out and if I decide to go this way, set up a product store with Payhip, or a combination of the two.
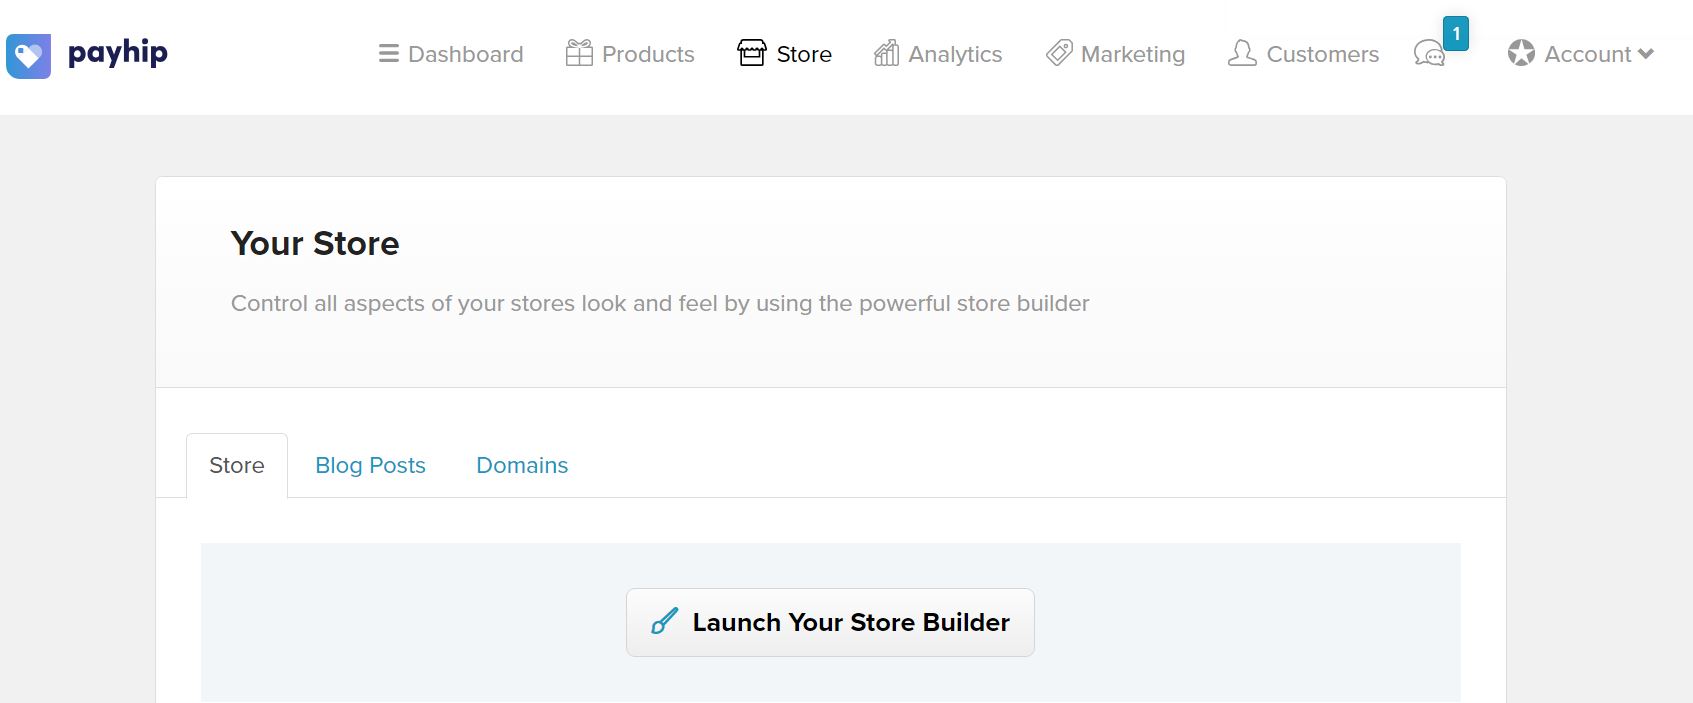
Optionally, setting up your own store.
Recent Comments